
Growing your own microgreens from microgreen seeds at home is easy and takes just a few minutes to get started. You won’t need much space, just enough to lay out the growing trays. After about 10 days, you can enjoy them on salads, sandwiches, in smoothies, or in a variety of other ways.
Why microgreens? They offer high nutritional value in a small package. They can be spicy, sweet, or neutral depending on the variety you grow. Each variety has a unique flavor. Some of the most common types are broccoli, radish, and basil microgreens.
Let’s Get Started!
To get started growing your microgreens you’ll need to gather a few supplies.
- A shallow tray, about 3-4 inches deep, will provide enough space for them to grow
- Seed Starting Mix/Soil
- Microgreen seeds of your choice
- A spray bottle with water for misting
My personal favorite blend of microgreen seeds are linked in my Amazon storefront. I recommend picking something you like to eat since that’s the purpose of growing them.
Planting Your Microgreen Seeds
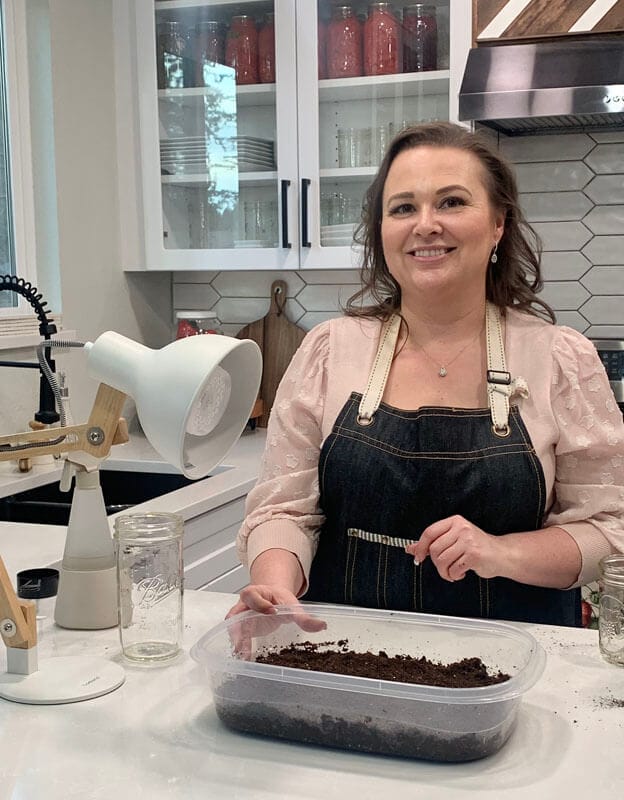
When it’s time to get started, the first step is filling your shallow tray with about 2 inches of potting mix. After that, you will want to get the soil mix very wet, almost the consistency of a mudpie. It is important to not pack the soil or push it down tightly as this will prevent the roots from being able to grow into the soil. Once the soil is very wet, sprinkle the seeds on top of the soil.
Since you are growing microgreens, not an entire plant, the seeds can be very close together. After evenly sprinkling the seeds, use a small amount of soil to lightly cover the top of the seeds. Once the seeds are lightly covered, mist the soil with a spray bottle. Place the tray in a sunny windowsill, in direct artificial light, or under a grow light. Continue to use a spray bottle to mist the top of the soil and keep it moist while the seeds are starting to sprout.
Eating Your Microgreens
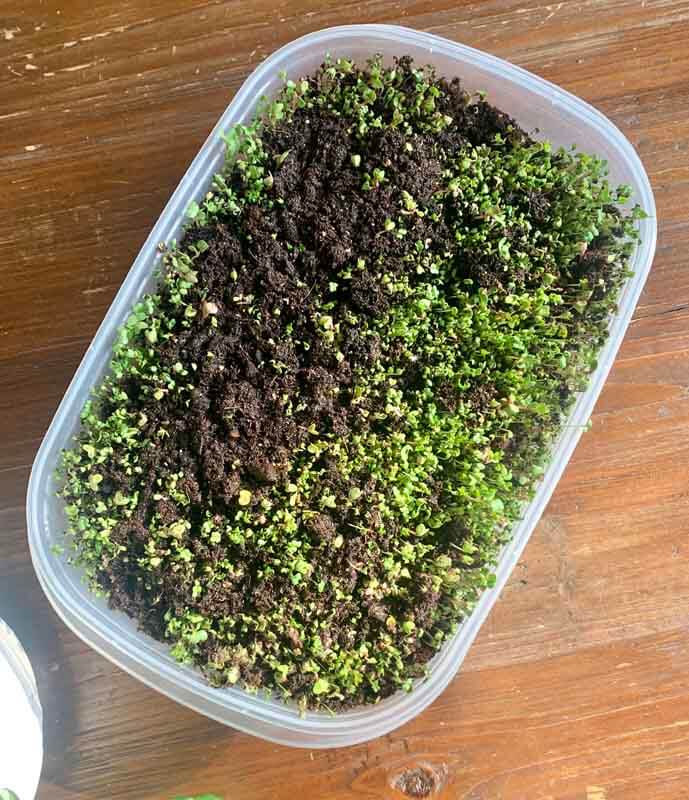
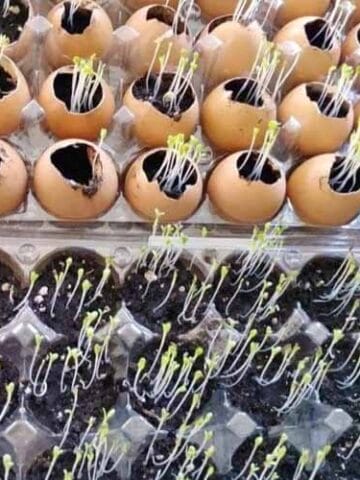
You will begin to see tiny plants start to germinate from your seeds pretty quickly. I usually start eating my greens after about 10 days. Technically, microgreens are baby plants, so you can choose when you are ready to harvest them.
When you are ready to eat them use clean kitchen shears or a very sharp knife and trim them at the soil line. If you are able, trimming as you plan to eat them keeps them fresh.
After cutting, give them a quick vinegar wash for 2 minutes and then a trip in the salad spinner if you have one to try them off. Then you are ready to enjoy your fresh microgreens in whatever you are making.
If you would rather harvest them all at once, you can do that too. Cut and wash them the same way as above, but let them dry longer and store them in a glass container with a paper towel.

I Have Microgreens, Now What Do I Do With Them?
Microgreens are a vegetable that is not a part of many folks’ everyday rotation. In an effort to eat a rainbow every day, they can be a good alternative to lettuce. These baby greens are a great option to spruce up a salad, add another layer of flavor to a sandwich, or toss in stir fry. By being able to grow your own at home you have more flexibility on skipping the store and always having some on hand.
Microgreens vs. Sprouts
Did you know there is a distinct difference between sprouts and microgreens?
- Sprouts are eaten in the first few days of germination where microgreens are eaten up to five weeks after planting.
- Microgreens are cut and you are eating the leaves and stems, while sprouts are usually grown in water and you are consuming the seed.
- Additionally, microgreens last longer in the fridge.
Now that you know how to grow microgreens, with these simple steps, will you be giving them a try? If not, and you’d rather stick to lettuce, check out my lettuce blog post below:

How to Keep Lettuce Fresh for Weeks
And for toppings on your microgreens or traditional salad, check out this blog post:

How to Keep Salad Toppings Fresh for Weeks
This post may contain affiliate links. This means if you purchase through my links, I receive a small commission at no cost to you. For more information, please read my Disclaimer

Leave a Comment