Families today are carefully looking at ingredients now more than ever. With research and information available on the effects of dyes in our food, it’s common for people to want to avoid dyes in their homes. When it comes to Easter Eggs, most egg decorating kits contain food dyes for coloring. The good news is that there are natural options available if you still want to enjoy this fun, spring tradition!

If you're looking for the easiest option, they do have options for natural dye kits on Amazon.
I prefer making my own egg dyes which I will outline in the blog below. While it might take a little more time and effort to decorate your Easter Eggs naturally with homemade dyes, it’s totally worth it and doable! The main thing you will need to do ahead of time is decide what colors you want to dye your eggs. You need to do this so you can shop for the ingredients needed to color your eggs. Depending on the age of your children, you can make the dye in advance yourself, or you can involve them in the process of creating the dye.
Let’s get started!
Choose the Color of Your Easter Egg Dyes
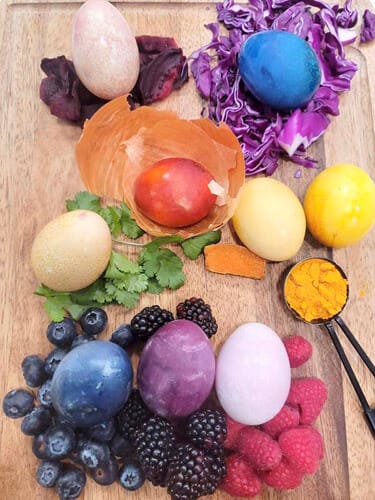
You can choose from many colors of the rainbow when dying Easter Eggs naturally. The foods below correspond with the colors they will dye your eggs. Below this list, I’ll explain the steps to create the dye using each of these foods.
- Yellow Onion Skins – Burnt Orange
- Turmeric – Yellow
- Blueberries – Green
- Red Cabbage – Dark Blue
- Blackberries – Purple
- Raspberries – Lavender
- Beets – Lavender or Pink if only left for a couple of hours
Gather Your Supplies
- Fruits and Veggies of your choice to create dyes
- Stainless Steel Pot (dye will stain)
- Eggs
- Glass Jars
- Mesh Strainer
- Slotted Spoon
- Cookie sheet/wire rack for cooling colored eggs
- Measuring Cup, Glass
- Measuring Spoon, 1 T.
- Distilled White Vinegar 5%
- Olive Oil
See a Video of the Process
Prepare Your Easter Egg Dyes
For each natural dye you wish to create:
- Follow the fruit/vegetable to water ratio provided in the instructions (ex. 2 c. berries to 3 c. water)
- You will want to use a Stainless Steel pot or a pot that will not stain to create your dyes
- The “cooking” instructions are the same for each dye: Bring to a boil for 1 minute. Cover, and simmer for 20 minutes.
Pro Tip:
Once your egg dyes are cooled, pour them into individual large jars or containers that you don’t mind if they get stained, and are easy to pour from. When you’re ready to decorate your eggs, you’ll be pouring from the large jars into smaller jars that hold one – three eggs.
Berries
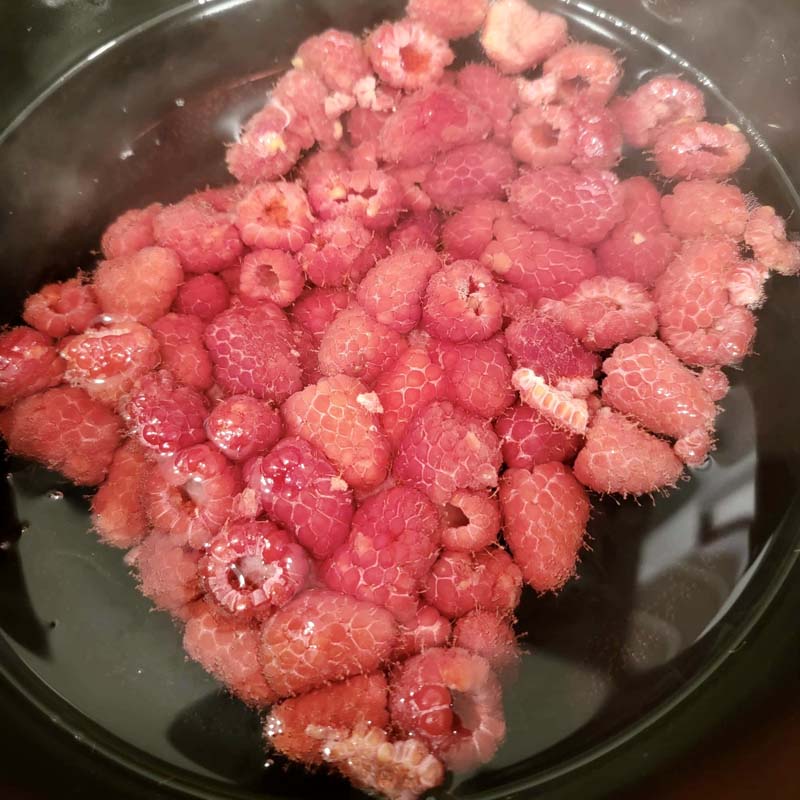
For the dyes made from berries you’ll need 2 cups of fresh or frozen berries and 3 cups of water.
Yellow Onion Skins

To make a beautiful dark burnt orange dye, use the skins of 3 onions with 3 cups of water. There’s no need to waste your onions. You can slice the onions and put them into a jar in the fridge to use in the next week to 10 days, or you can put them in the freezer for longer-term storage.
Red Cabbage
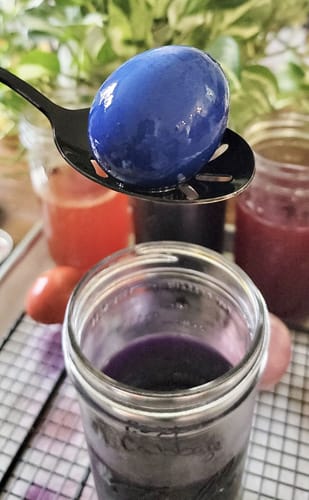
For dark blue dye, use 2 cups of shredded red cabbage and 3 cups of water. Why is it called red cabbage if it’s purple and makes blue dye? This always stumps me as you can tell in the video.
Beets
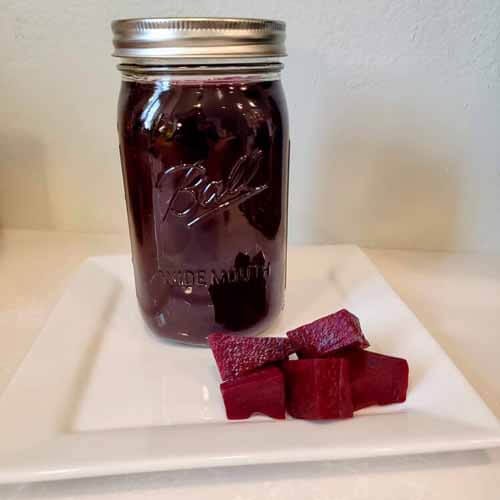
Depending on how long you leave your eggs in the beet dye, you can dye your eggs either Lavender or Pink. To make this color dye, start with 2 cups of beets and 3 cups of water. Let cool and remove the beets while keeping the colored water. If you want a deeper color, try organic beets.
Turmeric
Turmeric makes a natural yellow dye. Mix together 2 T. of Turmeric powder with 3 cups of water.
Prepare Your Hard-Boiled Eggs
While your dyes are cooling, you can prepare your eggs for coloring. You will need hard-boiled eggs for this project. Check out Mike’s video on how to hard boil eggs.
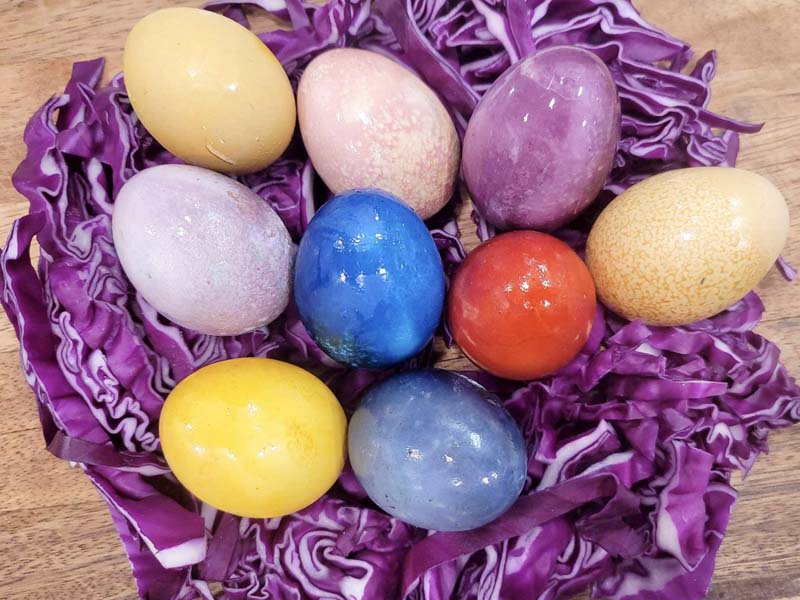
Now, Let’s Dye Some Eggs!

Now that your natural dyes and hard-boiled eggs are prepared, you’re ready to begin decorating your Easter Eggs! I use wide pint-and-a-half jars but you can use a container of your choice, keeping in mind that the dye will stain. Gently place your eggs in the containers to avoid cracking, one – three eggs per container. A slotted spoon can be helpful with this to prevent the eggs from cracking. To brighten up your colors, add 1 T. of 5% Distilled White Vinegar into each jar. If you prefer muted colors, you can skip the vinegar.
Next, pour the dye from the larger jar/container into the containers with the eggs. Cover the containers to prevent spills and place them in the fridge to develop the color. The longer the eggs sit in the dye, the more vibrant the colors will be. I let my eggs sit in the dye overnight. You can check your eggs periodically and pull them out when they reach the color you desire.
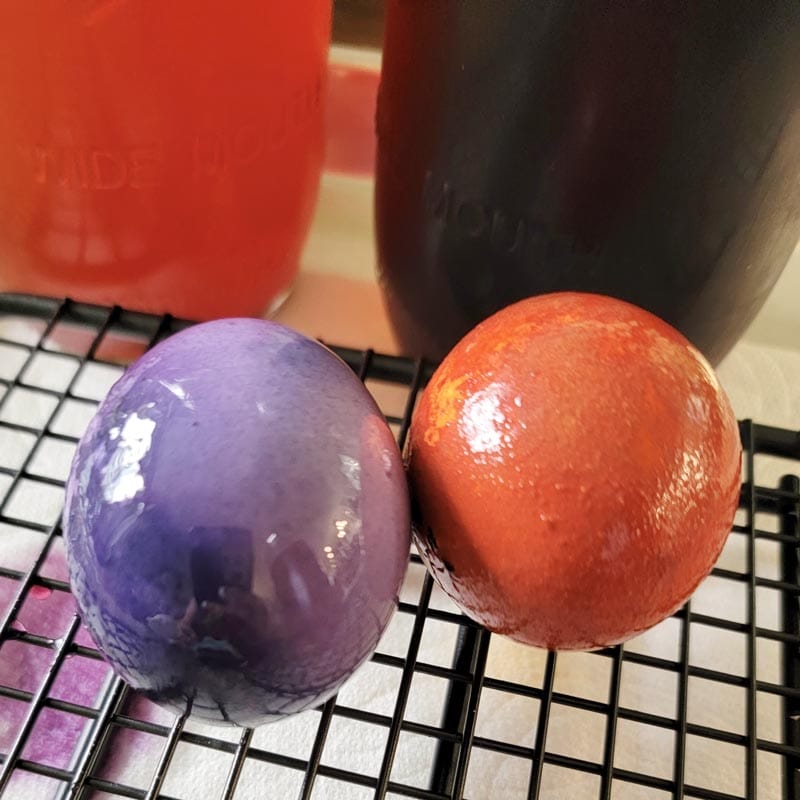
When I pull my decorated eggs out of the jars, I place them on a wire rack to dry. After they have dried, I rub a small amount of olive oil on them with a paper towel to set the dye.
Are you going to try natural dye for your Easter Eggs this Spring? If so, what colors are you going to try?
Tag me in pictures of your eggs on social media @thecrosslegacy, I would love to see what you and your family create!
This post may contain affiliate links. This means if you purchase through my links, I receive a small commission at no cost to you. For more information, please read my Disclaimer


Leave a Comment