Uncategorized
-
A Family Holiday Tradition: Cheesy Broccoli Casserole
-
A Special Family Tradition: Cedergren Family Kroppkakor Recipe
-
5 Ways to Use Leftover Chicken for Easy Weeknight Meals
-
Fall Meal Idea: Stuffed Acorn Squash Recipe
-
You'll Love These Easy Homemade Gyros + Tzatziki Sauce Recipe
-
Easy Chicken Enchiladas Recipe: Save Money with Freezer Meals
-
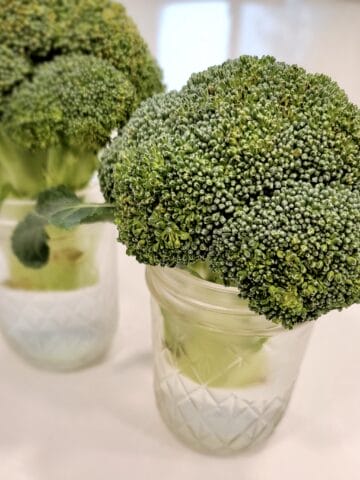
How to Store Broccoli So It Stays Fresh Longer
-
Easy Beef Pot Pie Recipe: Ground Beef Dinner Ideas
-
The Best Gluten Free Pumpkin Muffin Recipe
-
How to Keep Zucchini Fresh for Weeks + Recipes!
-
Elderberry Syrup Recipe, Easy to Make!
-
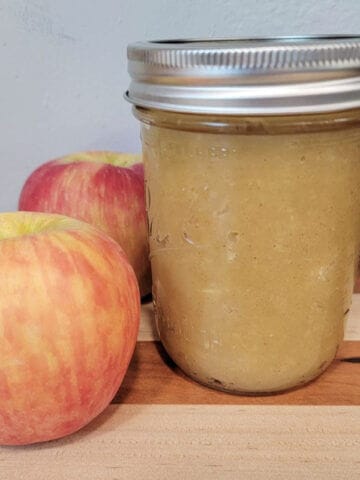
How to Keep Apples Fresh for Weeks
-
Easy One-Pan Caprese Chicken with Zucchini
-
Easy One Pot Mexican Quinoa
-
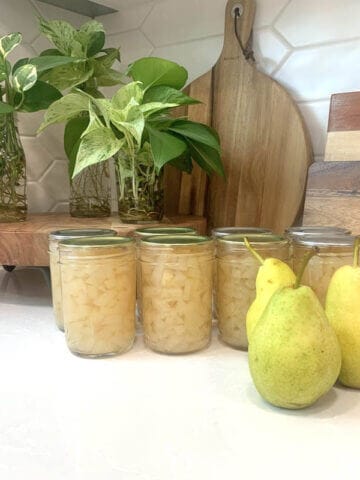
Canning Pears: How To Can Pears
-
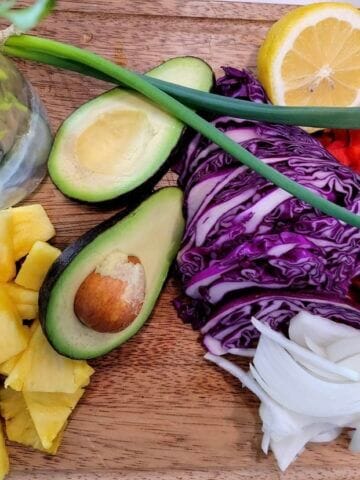
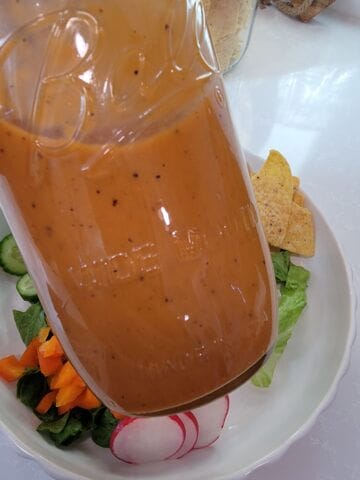
Easy and Delicious Homemade Salad Dressing Recipes!
-
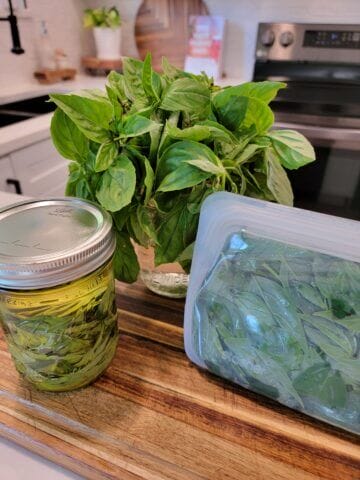
Two Ways to Preserve Basil
-
Easy No-Cook Summer Meals to Beat the Heat
-
Fresh Summer Stone Fruit Salad and the Best Dressing Recipe
-
How to Make A High Protein Strawberry Shortcake Dessert
-
The BEST Yakisoba Recipe to make on a Blackstone Grill
-
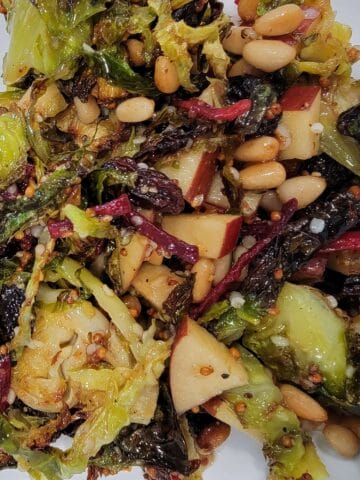
Easy and Delicious Brussels Sprout Salad Recipe
-
Simple Seasonal Meal Planning Tips to Save Money
-
Easy Sloppy Joes for the Busy Mom: A Batch Cooking Staple
-
The Best Pork Chops Recipe with Apples & Onion
-
How to Keep Tomatoes Fresh: The Best Way to Wash and Store Them
-
Easy Summer Meal: Taco Salad with Homemade Catalina Dressing
-
How to Keep Lettuce Fresh for Weeks
-
Strawberries in a Jar - How to Keep Strawberries Fresh
-
Easy Protein Pack Ideas: Protein Balls Recipe
-
Easy Homemade Avocado Ranch Dressing Recipe
-
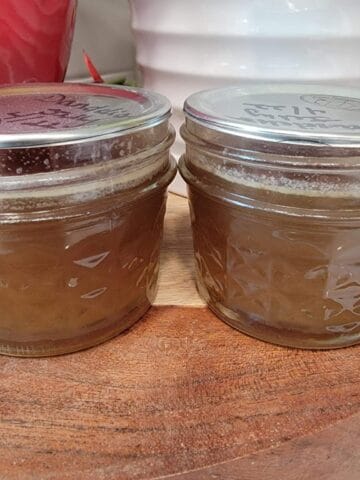
How to Make Dandelion Jelly
-
The Best Way to Keep Asparagus Fresh
-
It's here! Our FREE ebook is here!
-
5 Tips To Save Money on Groceries This Year
-
How to Wash and Store Grapes So They Stay Fresh
-
Meatless Monday Meal Idea: The Best Farro Grain Bowl Recipe
-
How to Store Dairy Products and Make Cheese Last Longer
-
Easy Ways to Make Sugar Cookies Allergy-Friendly
-
Easy and Delicious Air Fryer Coconut Shrimp Recipe
-
How to Have a Special Valentine's Day WITHOUT a Valentine's Day Basket
-
Easy and Delicious Gluten-Free Allergy-Friendly Meatball Recipe